Showing posts with label charcoal. Show all posts

Wednesday, April 3, 2019

Open Studio Figure Drawings in Charcoal


Open Studio 1
Open Studio 2
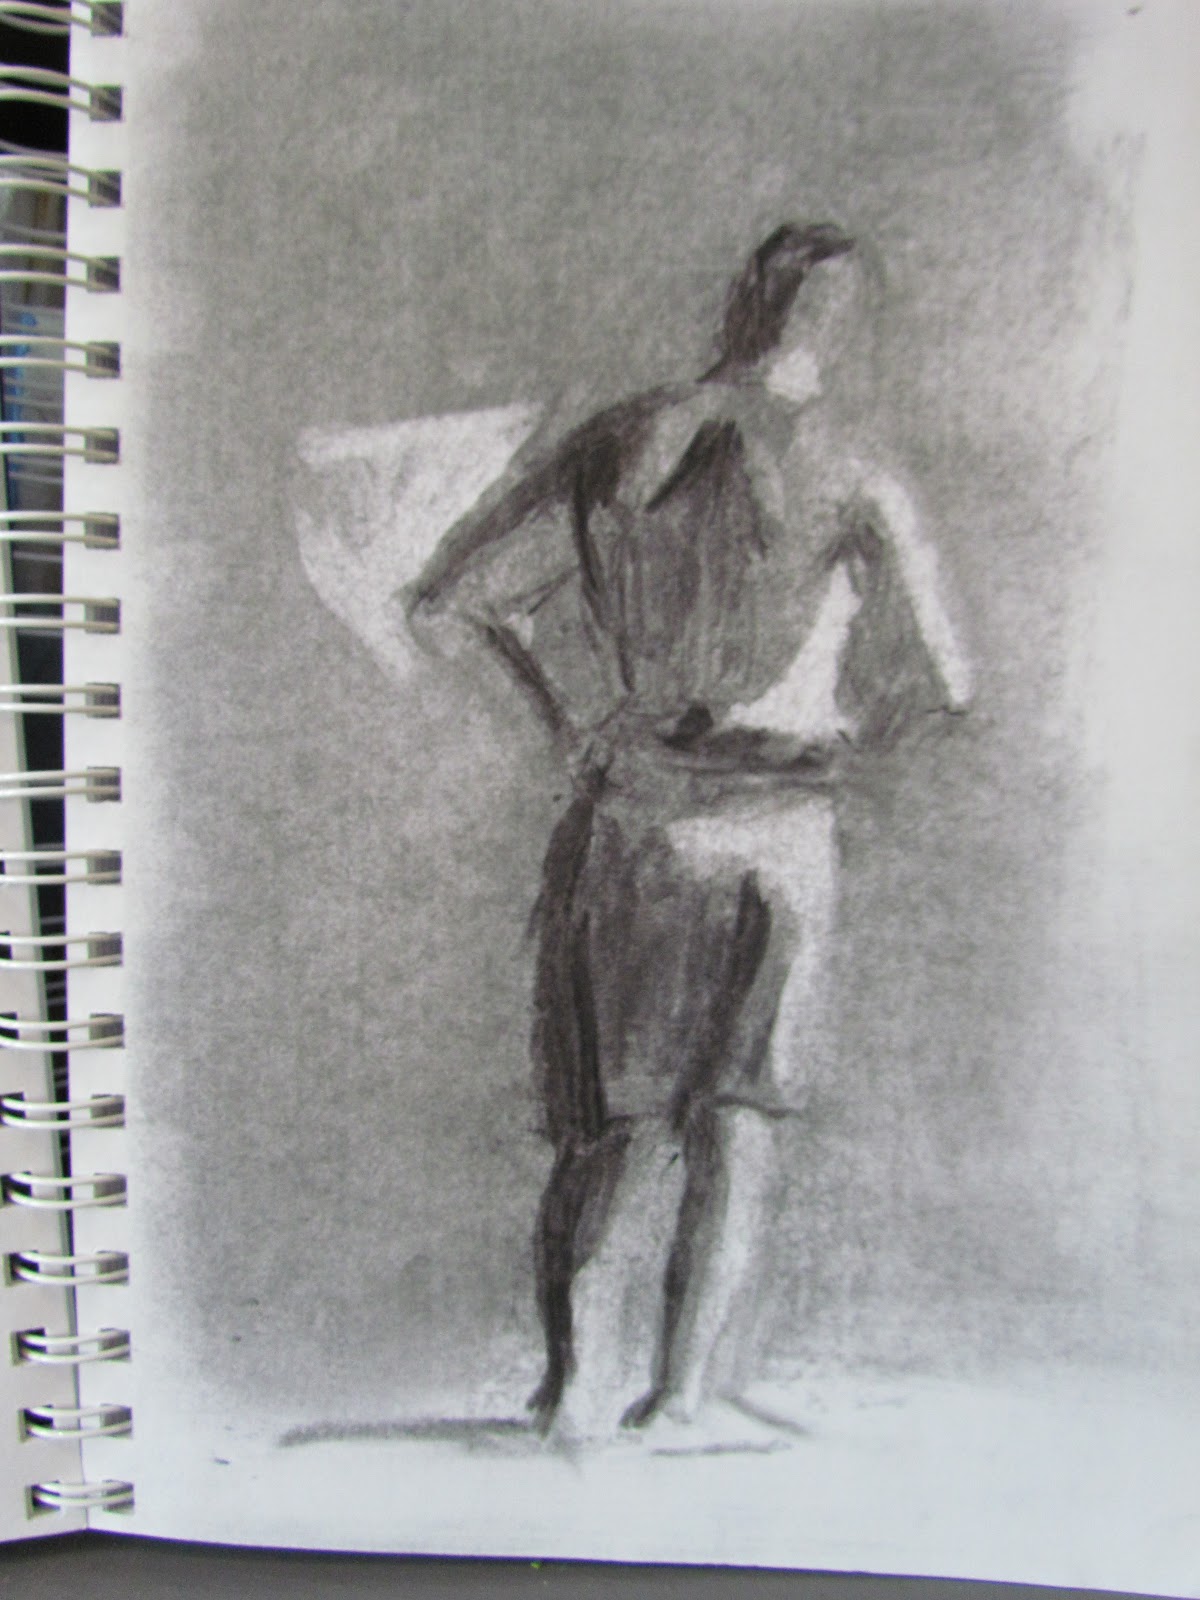
Have you ever been curious about open studio painting sessions?  This is how it works.   The organizer of the open studio typically contracts with a professional model to pose for a group of painters.   Painters all contribute to the "sitting" fee.    Sometimes the model is clothed, but more often they pose nude.   The organizer and/or group decides on a pose and adjusts lighting to both accomodate the comfort of the model and create interesting angles for the painters.   Many models ask that no photos be taken, but I've also had models allow it and just ask for a promise of discretion and use only in finishing the painting.    A timer is set for a particular duration and when it goes off, the model puts on her robe and gets a break.  The total session is usually three hours.

Open Studio 3
There isn't a huge market for nude paintings, but these sessions are great practice for painters.  It helps to know how the human figure is constructed when inserting figures (with clothing) into a painting.

I was happy with the likeness and the angles of these sketches, although not so much with the way the charcoal sat on the paper (bumps, lines etc.)   On this evening, whenever the model took a break, I moved my easel to a new spot, thus the different angles.  These aren't meant to be finished works, but for me reinforcement of figure basics for use in landscape and otherwise.


Thursday, November 6, 2014

Clutching Gold

Renoir Bathers Snippet through Viewfinder
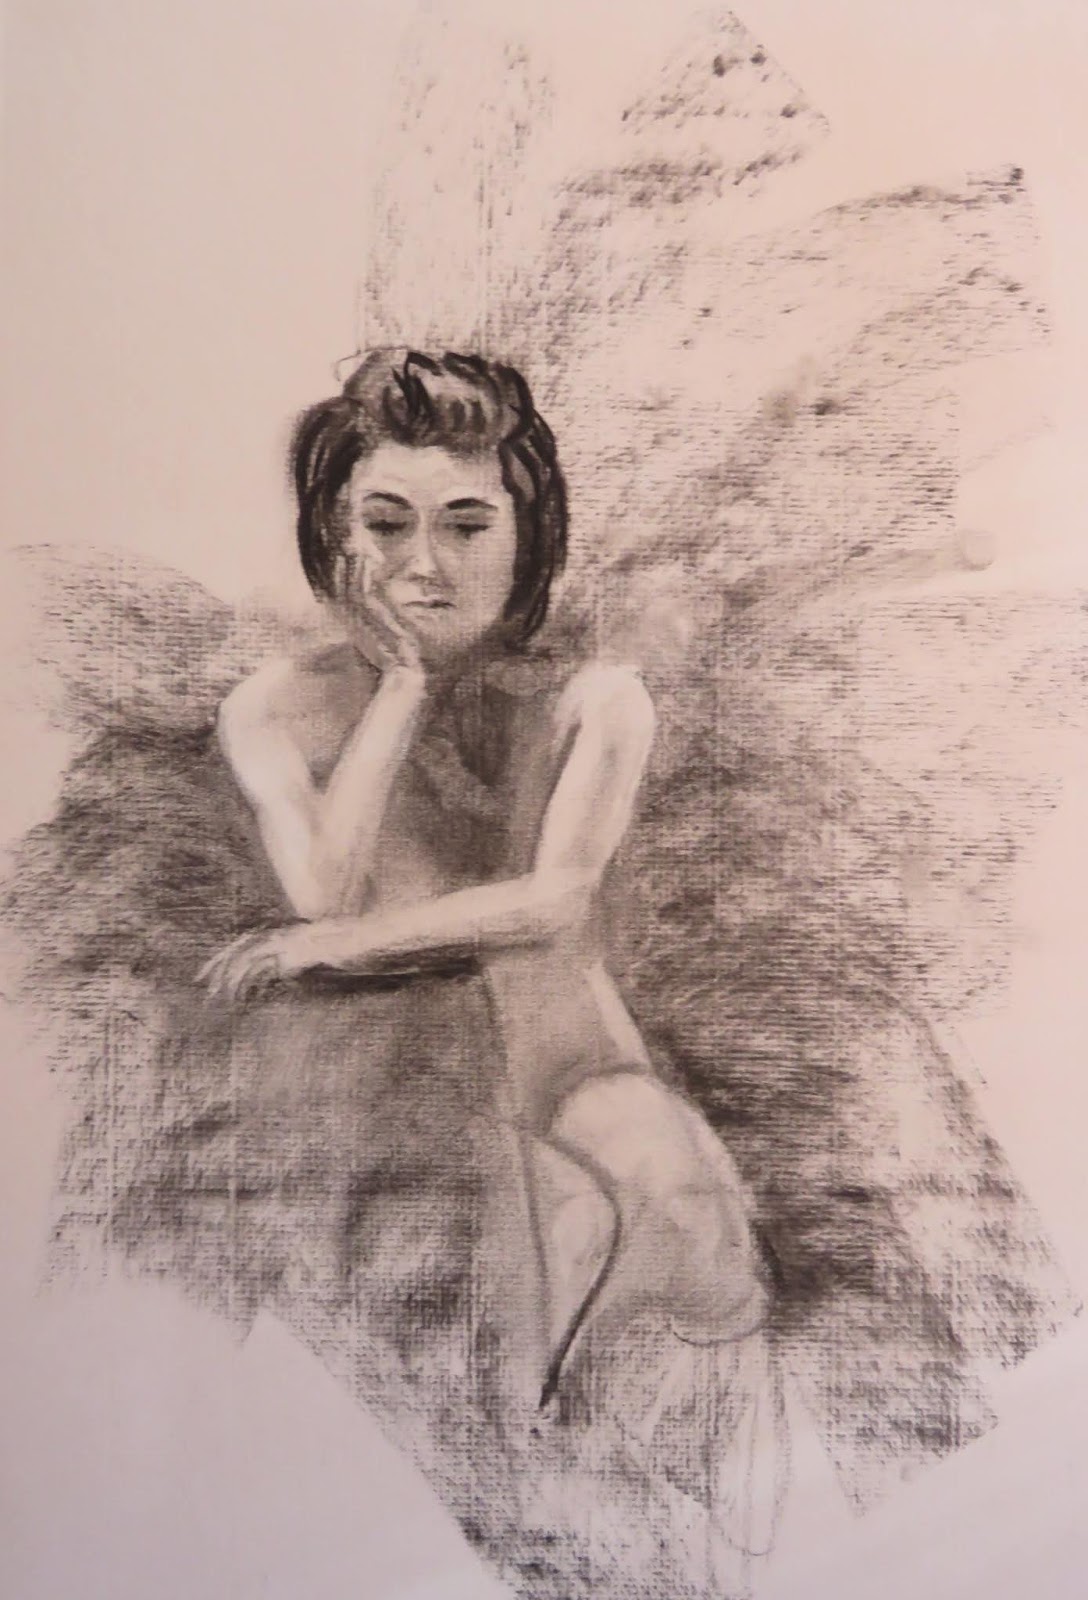
It was the second week of my workshop with Eli Cedrone.   The plan was to use the same ideas from last week's still life abstract, but apply them to a figure.     That process was to design the painting in black and white with a charcoal thumbnail, to do a line drawing that would flatten the planes, then to develop the abstract version into our desired level of realism. 

Thumbnail Design
I chose a painting of Renoir's bathers as inspiration for this one.   I used my viewfinder to frame two small portions of the (very large) painting.   I then did a thumbnail in charcoal of each to decide which one I would paint on my 9x12 canvas.    I liked both thumbnails so I decided (too ambitiously as it turns out) that I would just paint both.   The mission was to keep it loose and free, so I thought there would be time for both - ha, not true! 

As the face and hand came together I decided that this looked like a sleeping goddess.   I refined the closed eyes and adjusted the mouth to be slightly drawn down as in sleep, dreaming even.

Wednesday, November 5, 2014

A Jar and Grapes

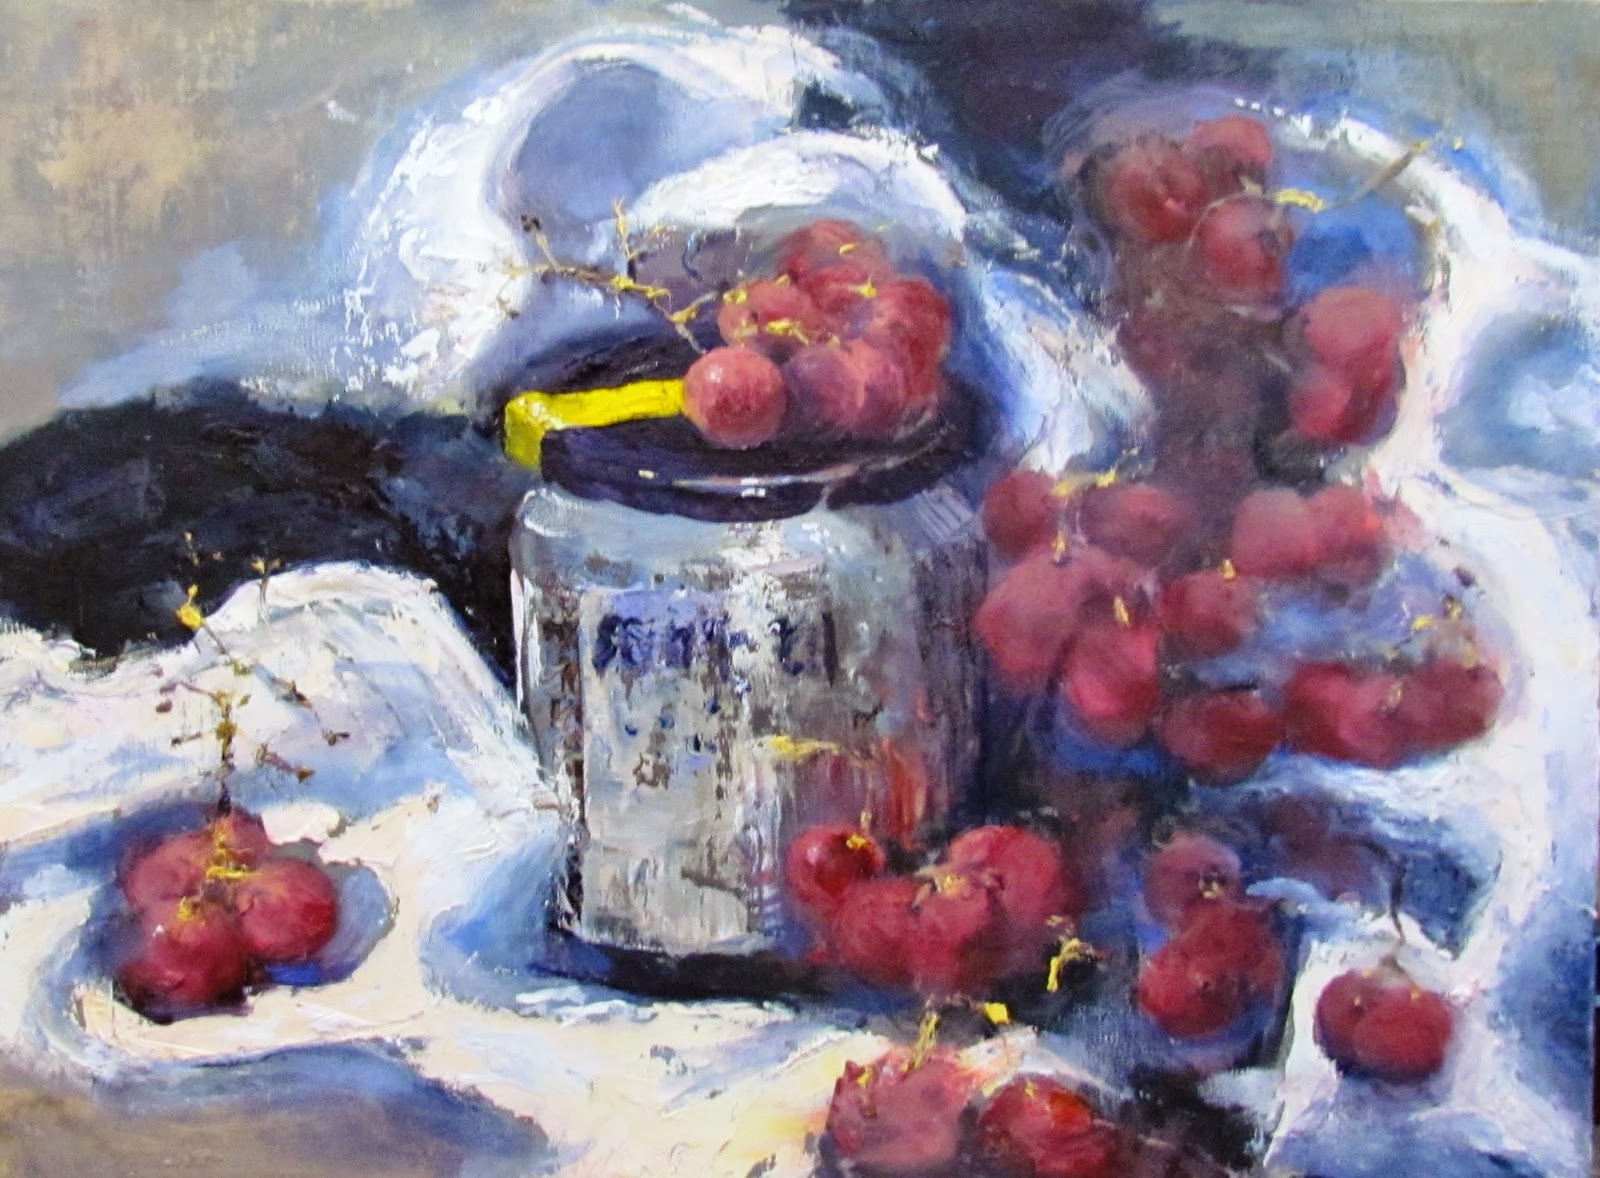
Red Grapes and Jar Still Life
I was in Session One of a workshop with one of my favorite artists from the New England region, Eli Cedrone.   She had sent out a lesson plan in advance of the class which included some interesting YouTube links for reference. 

Abstracted Thumbnail
American Artist Richard Diebenkorn was influenced by the work of Paul Cezanne and Henri Matisse.   He was drawn to their bold palette, the flattening of the picture plane and the minimal blending of color. He was interested in the geometry of a space – be it a still life, a field seen from above or an interior with figure. It is that convergence of lines and angles, forms distilled to their primary shapes, that connects his figurative paintings to his abstractions.

Eli challenged us to incorporate our twist on Diebenkorn's simplification and abstraction.  The mission was to render a non-representational depiction of our chosen still life set ups and to come up with a more striking and interesting composition. 


A Jar and Grapes - In Progress
As always, I love an art challenge and Eli's creative lesson plan challenged my status quo. With a 12x16 canvas staring at me, I started thinking that a few red grapes and a jar of Ikea pickled herring (my lunch) would be a weak and less-than-thrilling painting.   However, the objective of designing the painting instead of painting the subject exactly as designed, saved the day.

I decided to "split" the canvas into three zones.  Using the viewfinder I made three independent views of the grapes and jar set up.   I was trying to make a black and white abstract that had nice variation, without yet thinking about how this would become a red grape and jar still life.   (Important:  The composition makes or breaks the painting)   We next did a flat line drawing of the design.  By the time paint was applied, the three vertical zones were interleaved.   At this point, the actual set up in front of me was only for color and shadow reference, because my black and white thumbnail was my composition blueprint.


A Jar and Grapes - Loud and Loose
Here is the end product;  more loud and loose than usual.

BUY NOW

Tuesday, June 24, 2014

Aihlbe with Lace Neckline

Aihlbe with Lace Neckline
Remember Ailhbe, my alabaster white bust?   She set up for a pose again and this time it was a downward angle done in charcoal.   Highlights were done with white conte.  

Of course I improvised on the neckline since the bust ends at the neck.   Between Artist Dan Thompson's workshop and the upcoming Rob Liberace workshop, I know I need to practice the portrait as much as I can.

Thursday, April 3, 2014

Dad 1945

Dad 1945
The handsome strapping young sailor in this pencil/charcoal drawing is my Dad.  Dozens of vintage photographs were with his things.  He had taken the time to label each photo with names of those in the pictures.  That is, except for this one photo - of himself.  

I began with a two value drawing with pencil.  I expanded my value range to five, but was not satisfied with my darkest value until I introduced soft vine charcoal over the pencil for the darkest dark.  I used a stump to soften each value.

The familiar features (literally) common to the clan include the high arching eyebrows, straight full nose and prominent lower lip.  I see these features in myself and my boys.   I think it helped the flow of the drawing to know that these were the features that needed to be right.


Friday, February 7, 2014

Self Portrait

If a painter would like to work on a live portrait - and there is no model available, self-portrait work is the only option.   Staring for hours into a mirror with the goal of creating a good likeness has always been a challenge.   The task has become less daunting with the realization that it is no different than producing a realistic still life or landscape.    Highlights, shadows, and lines (many lines) all arranged in a precise order magically become an image.   True to most self-portraits, the facial expression in this charcoal sketch seems serious and even scary.

Saturday, January 11, 2014

Ailbhe Profile in Charcoal

Ailbhe in Profile
Model Ailbhe is shown in this drawing in profile.  The light source was directly in front of her, shining straight toward her face.  I used a soft vine charcoal on Strathmore 500 charcoal paper.

After sketching in the overall head and neck, I probably spent an equal amount of time remeasuring and lifting out charcoal with an eraser.   After I finished my major first pass, I colored in the background placing darker values behind the lighter highlights on her head, and lightening the background behind her shadow side.     The squiggles in the background were done with my eraser; I thought it would be a bit more interesting and echo the wave in her hair as well.

I'm debating on whether to add clothing, maybe a scoop neck or a necklace because I'm not all that happy with the neck and shoulders.  I really enjoy translating people from their 3D selves to the 2D surface.  And she is a great model; she never moves a muscle.  :)


Monday, October 7, 2013

Sketching (A Little) in Ireland

Castletownbere Harbor


I did not bring painting materials to Ireland.   There would be no room in my luggage for the gear and wet paintings.   This trip was about visiting ancestral locales and covering as much of the country as we could.   The itinerary did not lend itself to the concept of a paint-out. I wouldn't change a thing about this, our inaugural trip, but I did occasionally long to paint. Mark my words, the next trip to Ireland will include painting!


Castletownbere and Bere Island Satellite Map
One morning, while in Castletownbere on the Beara Penninsula (all the way to the Southwest tip of Ireland), I sketched a scene of the gorgeous view looking out toward Bere Island.   See the satellite view for an aerial shot.  The green marker is where I was and the island to the southeast is Bere Island (the hill in the sketch.)  The vine charcoal was sorely lacking as a recording method.  I'm sharing a photo that is similar...it didn't capture the color either since it was twilight in that shot.


Sketching at Kilkenny Castle
Whilst (heehee) at Kilkenny Castle, I marginally satisfied the painting itch again and did some more sketching.   I sat inside the back gate, the location of some impressive statues.  I used vine charcoal and a drawing pad.  I didn't get far, and I didn't record who this was a statue of, but it was a woman with majestic layers of folds in her garb.  I liked the shapes against the low and dramatic light.

My husband came away with the more successful rendering with the cool photo of me measuring, showing his flare for composition.


Tuesday, August 6, 2013

Another Courtroom Sketch

In the Boston Federal Courthouse today, the closing arguments were presented in the trial of James "Whitey" Bulger.   Fred Wyshak Jr., US Attorney, presented for over three hours, summarizing the government's case against Bulger.   The scene depicted in the sketch is Wyshak who stood at the podium while Defense Attorney Jay Carney and Bulger sat at a table behind him.

Friday, February 8, 2013

Figure Workshop Day Two

Thumbnails


On Day Two of my recent figure workshop, we were fortunate enough to have a live model.   The young lady, who was a high school student was very striking with strong classical facial features.  The instructor "dressed her up" by draping a warm red swatch of fabric over her lap as a skirt.  She also found a widebrimmed straw hat which she positioned forward enough to cast a sharp dark shadow over the model's eyes, accentuating her classic profile.


Black and White Study


We developed some thumbnail sketches, connecting the darks so that these accents would combine in a strong compositional design.  After the charcoal sketch we repeated the composition in black, gray and white.  Finally we painting the composition in color.


Live Model Color Study

Wednesday, February 6, 2013

Figure Workshop Day One

Charcoal Study
On Day One of this figure workshop our challenge was to practice designing our painting space with strong values and connect the lights and darks.   We chose a photo from which we executed:

  • thumbnail(s),
  • a charcoal study,
  • a black, gray and white painting
  • a color painting.   

Going to such lengths and repeating the composition multiple times before getting to a final color painting resulted in a true familiarity with the subject.   It also provided multiple opportunities to fine-tune the composition.


Charcoal Sketch


I began with a photo I had taken in Aruba.   A couple in bathing suits had stopped along the shoreline to look at a huge jellyfish.   The woman was taking a photo of it while the man looked on. 

The woman was blond with a fair complexion and the man was darker with a reddish tanned skintone.  Their different complexions coupled with the fact that the left shadowed side of the man stood out against the woman's right sunlit flesh gave maximum contrast.


The black and white study and the color study were painted side by side on a 12 x 16 inch canvas.  See the progression from the top.

This last photo shows the result at the end of the day.   If ever I was prepared to execute a final painting, this is it!  

Sunday, January 20, 2013

WRT: WRT

Academic Drawing from the Flat
There is no more demanding genre than realistic portraiture.   One of the first classes I took many years ago was a portrait class.   It was a struggle then, and hundreds of paintings later, it still is a struggle.   It requires careful measurement and constant checking of placement of brushstrokes with respect to established landmarks.   The biggest favor I did for myself is to give myself permission to measure with reckless abandon - almost at every stroke. 


Academic Drawing from the Flat
 At first I thought this was squelching creativity.   Then I surrendered to the reality that a human likeness is not as open to interpretation as I might have thought.    Slowing down and carefully placing marks with respect to other marks is crucial for success.   Shown in this post is sampling of (some not-so-great) drawings that I have worked on over the last several weeks.  


Academic Drawing from Bust
I used the standard methods for dividing the face and/or figure as described by my academic drawing class teacher.   A grid works well and similar methods are available in any good portrait or figure book.  From my own intensive period of portrait and figure practice, I can add my best advice toward success in achieving a likeness with two steps. 


Academic Drawing Live Model

1) Decide on a unit of measure for the portrait or figure and use that consistently throughout.  A unit of measure can be a nose length, an eye width - or - for a figure, a head length etc..   For me this made sense because if a mistake is made in a secondary measurement,even if it is slight, then I use that thing to measure the next, the errors can get larger.  Always measuring from the primary unit at least guarantees accuracy with respect to it.

2) Choose a primary pivot point and place landmarks on the face or figure using the unit of measure with respect to that pivot point.      For portraits, I have been using the base spot at the top of the nose exactly between the eyes.     By using that relatively immobile spot, (and the measuring unit in step 1, it was possible to get a consistent measurement on some angle to any other landmark.

Academic Drawing Live Model


After measuring and placing the shapes and shadows, its good to measure again.   The carpenter's mantra works here, "measure twice, cut once." Although it is somewhat tedious, without it, the chances of having an acceptable likeness are slim.  Unlike a landscape, measurements that are close are not good enough for a portrait.