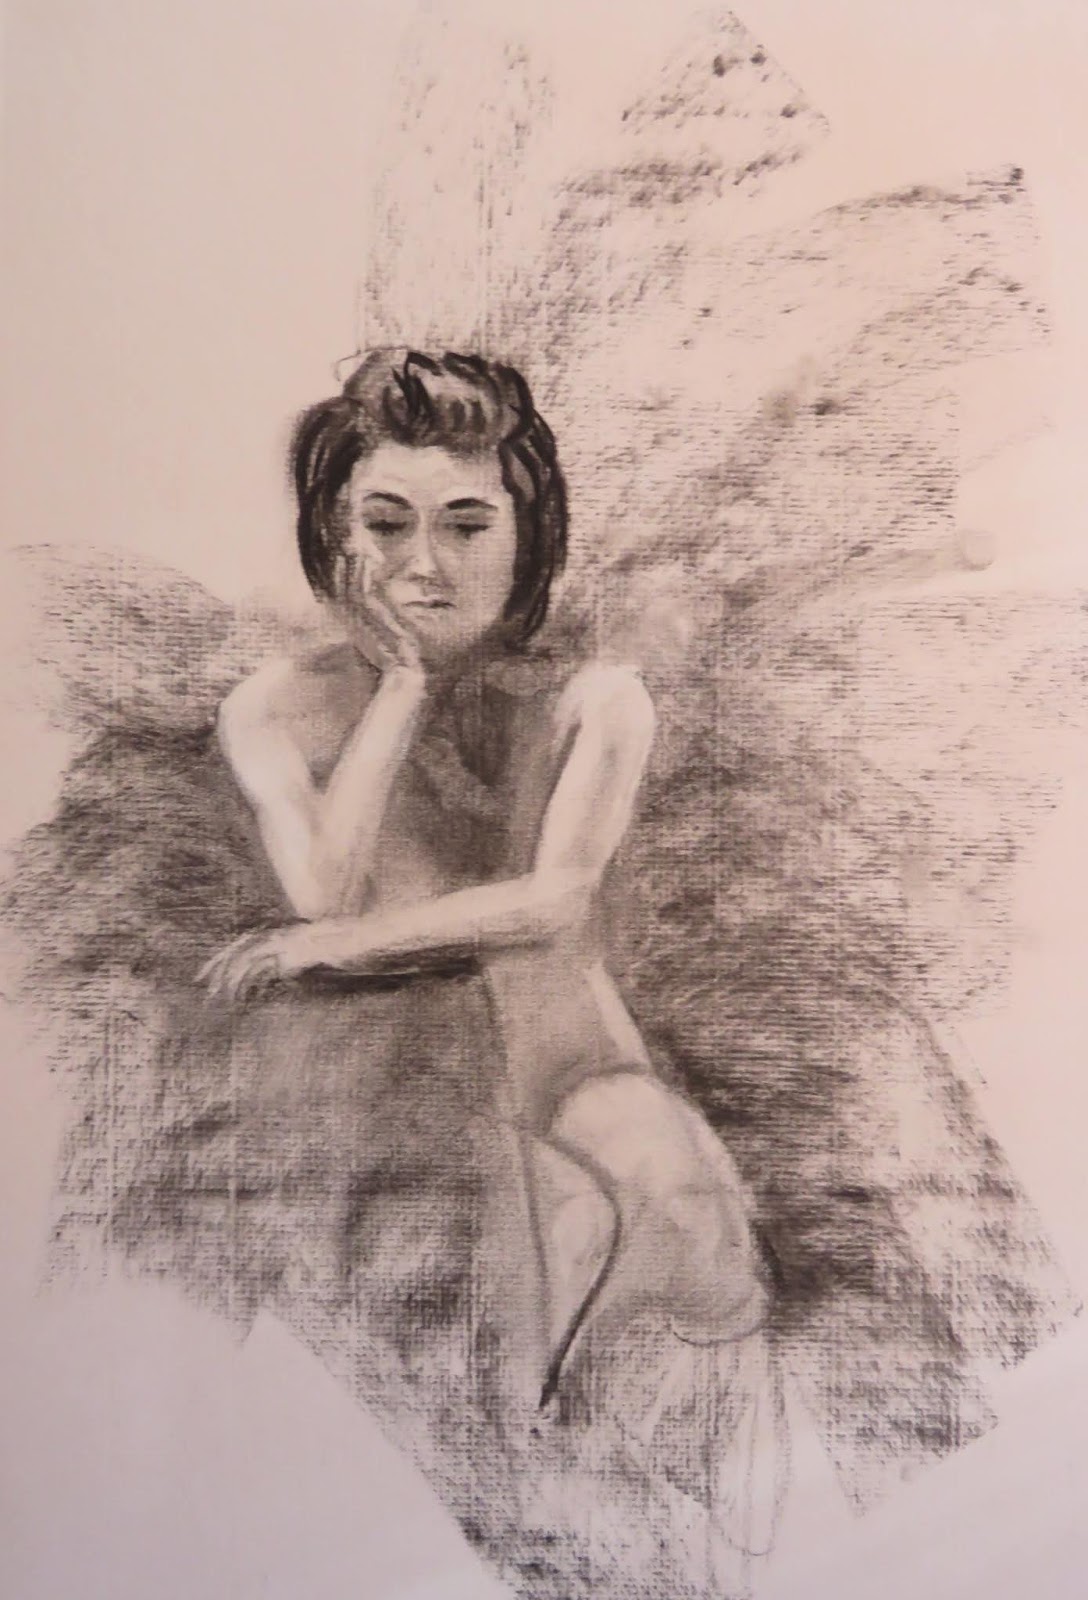
Showing posts with label live model. Show all posts

Thursday, January 16, 2020

Open Studio Figure Paintings

Night Float
Yoga in Yellow
Sunny Blue Bikini
Black Bandeau Beauty
Last winter, I participated in an open studio night with live models.   There really is no better way to improve figurative captures than with living and breathing humans.  Similar to landscape, the best way to observe and reproduce accurate color is from life.  Photography is useful for structural reminders, but simply can't deliver precise color.  

The other deficiency of working from photos for people is that the model's typical look or signature smile/expression may not come through in a few photos.   Once you spend three hours observing and talking with a person, there is a much better chance of identifying a feature that makes them unique - especially if the goal is to be true to a realistic rendering.

Phone Check
What is not realistic in the paintings is the addition of the bathing suits and some of the beachy backdrops.  The bathing suit theme provides some modesty for the sensitive readers, like my brother.

Mid-January is upon us - not bathing suit weather - I'm ready for it though!
Lounging


Wednesday, April 3, 2019

Open Studio Figure Drawings in Charcoal


Open Studio 1
Open Studio 2
Have you ever been curious about open studio painting sessions?  This is how it works.   The organizer of the open studio typically contracts with a professional model to pose for a group of painters.   Painters all contribute to the "sitting" fee.    Sometimes the model is clothed, but more often they pose nude.   The organizer and/or group decides on a pose and adjusts lighting to both accomodate the comfort of the model and create interesting angles for the painters.   Many models ask that no photos be taken, but I've also had models allow it and just ask for a promise of discretion and use only in finishing the painting.    A timer is set for a particular duration and when it goes off, the model puts on her robe and gets a break.  The total session is usually three hours.

Open Studio 3
There isn't a huge market for nude paintings, but these sessions are great practice for painters.  It helps to know how the human figure is constructed when inserting figures (with clothing) into a painting.

I was happy with the likeness and the angles of these sketches, although not so much with the way the charcoal sat on the paper (bumps, lines etc.)   On this evening, whenever the model took a break, I moved my easel to a new spot, thus the different angles.  These aren't meant to be finished works, but for me reinforcement of figure basics for use in landscape and otherwise.


Sunday, March 20, 2016

Self Portrait

Black and White Start
I enjoy painting humans and would paint them more if I had the resources and a model readily available.   I've painted people from photos, but just as with landscapes, the camera tends to distort color and lose subtle details, thus, a live model is best.   The most available live model I have is me, so I once again this winter, I painted myself.  :)


First Pass at Color
I spent considerable time experimenting with the setup for this self portrait.   I have always loved the chiaroscuro style in which light dramatically contrasts with the shadows/darks.   I attempted to achieve this strong contrast by setting up a spotlight and turning off all the other light sources.    I stood in front of the large mirror in my studio and trained the spotlight on my face so that one side of my face was illuminated and the other side only had partial light.   Two full spectrum lights illuminated my palette and the canvas.    During the painting process, I alternated between two kinds of lighting in order to get the true facial shadows, 1) just the spotlight and 2) all three lights: the palette, the canvas, and facial spotlight.


Lighting at Easel
I started with a charcoal likeness and spent a lot of time placing facial landmarks, measuring and re-measuring.  If this stage is wrong, it can only get worse from here.   Once I was satisfied with the drawing, I used a spray fixative to seal the charcoal.  After an initial underpainting, I began the layering process.


I used the glazing technique for the flesh tones building up many layers of transparent color.    My tendency is to make my people too red, thinking ruddy Irish complexions.    Careful color comparisons reveal that we often have more greenish, grayish undertones, especially on flesh planes that are perpendicular to the light source.

Vezina Self Portrait
And I thought I knew what I looked like!  After all, I see this face in the mirror everyday (well at least most days:)).  So why does it seem difficult to objectively assess if the likeness on my canvas hits the mark?    If you know what I look like, you will quickly realize that the painted image is the reverse, since I used one mirror, not two mirrors.  Perhaps years from now when - or should I say if? - this is hanging in one of my children's houses, they will know to wedge it in a hall corner next to a mirror!


Friday, June 13, 2014

Anatomy of the Human Head - Day Two

Sampling of Instructor Demo
It was Day Two of the Dan Thompson workshop at the North River Arts Society and we began the day with a new model, a delightful young college student (a musician) with a dark complexion and long dreadlocks tied back.  As we did for Day One, we started with a grisaille to establish the blueprint for the painting.   Our workshop instructor, Dan Thompson told us that we would quickly move to the color on Day Two, unlike the first day in which we worked exclusively in monotone.   It took me longer than it probably should have on this day to get the monotone underlay done.    Dan assured me that it was worth the extra time to get the drawing right.   I liked that a lot because I do not like to be rushed!

Day Two Model
The strategy for applying color was basic.    Select the color element that was the easiest to see.   In other words, which part of the scene do I have complete confidence that I not only can identify the color, but that I know how to match, mix and apply it.    Once this initial accurate judgment is made and on the canvas, the next color - theoretically - can more easily be compared (brighter, lighter, cooler, darker...) to the first stroke.  Dan demonstrated this method as he developed his painting of our model and what at first looked like a rough rudimentary scramble of color dots resulted in an amazing likeness of our model.

My painting was a different story.  Painting humans is hard but fascinating and my excuses are numerous ....   the canvas was so big....I'm using different tube colors than I'm used to.... and walnut oil as a medium...  They say struggling brings growth...

Here is the portrait from day two...

Saturday, June 7, 2014

Anatomy of the Human Head Workshop - Day One

Grisaille
I am so fortunate to have participated in a painting workshop featuring renown Instructor Dan Thompson.   This amazing artist is co-founder of the Janus School in New York City, this among his extensive credentials such as being named a "Living Master" by the Art Renewal Center.   The focus of the workshop he taught this May at the North River Arts Society was the human head.     I can't even begin to cover all the terrific information that was shared.   Dan reviewed the anatomical characteristics of the skull, neck and shoulders, as well as methods for identifying useful landmarks for painters when defining shapes and planar shifts.

 One of my personal goals going into the Thompson workshop was to learn more about skin color and fleshtones.    To me, some of the most interesting portraits are not photorealistic, but rather an interpretation of subtle skin tones with the use of stronger - even unorthodox and vivid - colors.   It takes a bit of daring to overcome the fear of "ruining" a decent painting with bold, interesting color.

On Day One, our assignment was to produce a "grisaille" rendering of the model.  ("Grisaille" is a monotone underpainting sometimes used as a base for the later application of translucent oil colours.)   The image to the left depicts my painting at the end of the day, and thus the conclusion of this model's time with us.   I would have loved to have finished the color version from the live model.  As subsequent blog posts will show, we welcomed a new model at the start of each new day.   What I did was to take color photographs of the Day One model and used them to create a brand new rendition of this painting, which I will share sometime in the future.


Friday, February 7, 2014

Self Portrait

If a painter would like to work on a live portrait - and there is no model available, self-portrait work is the only option.   Staring for hours into a mirror with the goal of creating a good likeness has always been a challenge.   The task has become less daunting with the realization that it is no different than producing a realistic still life or landscape.    Highlights, shadows, and lines (many lines) all arranged in a precise order magically become an image.   True to most self-portraits, the facial expression in this charcoal sketch seems serious and even scary.

Tuesday, August 13, 2013

Under the Yellow Umbrella

Yellow Umbrella Girl - Stage 1
Yellow Umbrella Girl - Stage 2
An indoor painting session with our live model resulted in a sweet pose with a predominantly yellow and purple harmony.    The cool light on the yellow umbrella was painted with lemon yellow.   The darker yellow in shadow was painted with a mix of cadmium yellow deep and purple.  

After having painted this same young lady two weeks ago and using her photograph to make adjustments to that first painting, I was quite familiar with her features.   The initial drawing of the face in paint went more smoothly because of it.  

The umbrella pigment was spread on with the palette knife, giving it a broken chunky look that I like.   The figure in my painting was chunky as well and that I did not like.   The model was trim and fit so in my pursuit to get a likeness I slimmed her out significantly.  Within the purple yellow harmony, the darks of her hair were purple and the lights were yellowish-lavender.

The hands are still a little to rough for my liking, so before I call it completely done, I will smooth them out a bit.   Comments are welcome.


Friday, August 2, 2013

Blue and Orange Portrait

In Class Portrait Start
Our Figures in the Landscape class was forced inside due not to rain, but due to the heat.   To any tropical latitude readers, I admit we cannot take the heat here in New England!   We painted in the relative comfort of the North River Arts Society building.

I took the opportunity to do a head and shoulders portrait of our gorgeous model, a college student and daughter of one of my classmates.   Her manner was lovely and composed and when she spoke, it was obvious that she was a sweetheart.   So not only was

Portrait in Blue and Orange
  Post Figure Class
my goal to do justice to her flawless complexion, but to achieve an expression that conveyed a lovely person inside.

For the first couple of hours I worked on the accuracy of my drawing.   I worked on a smooth clayboard which is good for wiping out all the lightest lights while building the structure of the face. 

My first attempt at full color paint turned out very poorly and even ruined my underpainted sketch.   In a rage that only I seemed to know about, I vigorously wiped out and began again.   With only an hour to go, I had to buckle down and get the facial features done before time ran out. 


Portrait in Blue and Orange with Studio Fixes
The wiped down canvas still had the ghost of the first rendering, and some classmates and teacher Dianne thought I should call it done.   It did look somewhat misty and loose; I did like it.   However, I was shooting for a very good likeness and I didn't want to waste the opportunity to work on facial accuracy of a live model.

At the end of class I took some reference photos so that I could finish the portrait in the studio.   My goal was to keep everything loose and misty except for the facial features.   The first photo is the painting at the end of class.   The photo below contains corrections made back in the studio.  Prior to the final posting to my website, I may make a very slight modification to the lips and soften the eyes' expression in keeping with the little twinkle that our lovely model has.

Courtroom Sketches

Bulger Hunched Over
One of the country's most infamous criminals, James "Whitey" Bulger is currently on trial in the Federal Courthouse in Boston.    Last week the prosecution wrapped up its case and this week, the defense began presenting their witnesses.   This news got me thinking that if I was going to get into Boston to see any of the trial, I had better do it soon.


Bulger & Carney
Only ten courtroom spots are available to ordinary citizens like myself.   The security guard at the door of the courtroom showed me the ten signatures that were taking up those ten spots on this particular day.   He noted that typically the list was filled by 5:30 AM.   The bottom line was that there was no chance of me getting into the main courtroom.


FBI Fitzgerald Ink 1+2
I was directed to the "overflow" courtroom.   In these courtrooms (there were actually two) large video monitors were set up on either side of the room allowing the viewing public to witness the trial.  

It was a dual purpose that prompted my visit to the courthouse.     It is a historic and fascinating trial spanning forty years of Boston history.   While listening and viewing the trial, I would also be able to work on portraits of the witnesses. 
FBI Fitzgerald Ink 3+4

Before the jury came in, Judge Casper ruled on various motions that had been put before her, including the issue of sequestration of the jury during deliberations.    Bulger struck a pose during these proceedings that I have heard has been his daily position (eyes down, chin resting on his left hand) and his lawyer, Jay Carney was seated to his right.


On this, the first day for the defense, they put Robert Fitzgerald, a former FBI Supervisor, on the stand.    For three hours he recounted everything from his schooling, to his involvement in organized crime cases, political scandals (ABSCAM), and his job as supervisor of a group of FBI Agents in Boston.  

FBI Fitzgerald Ink 5
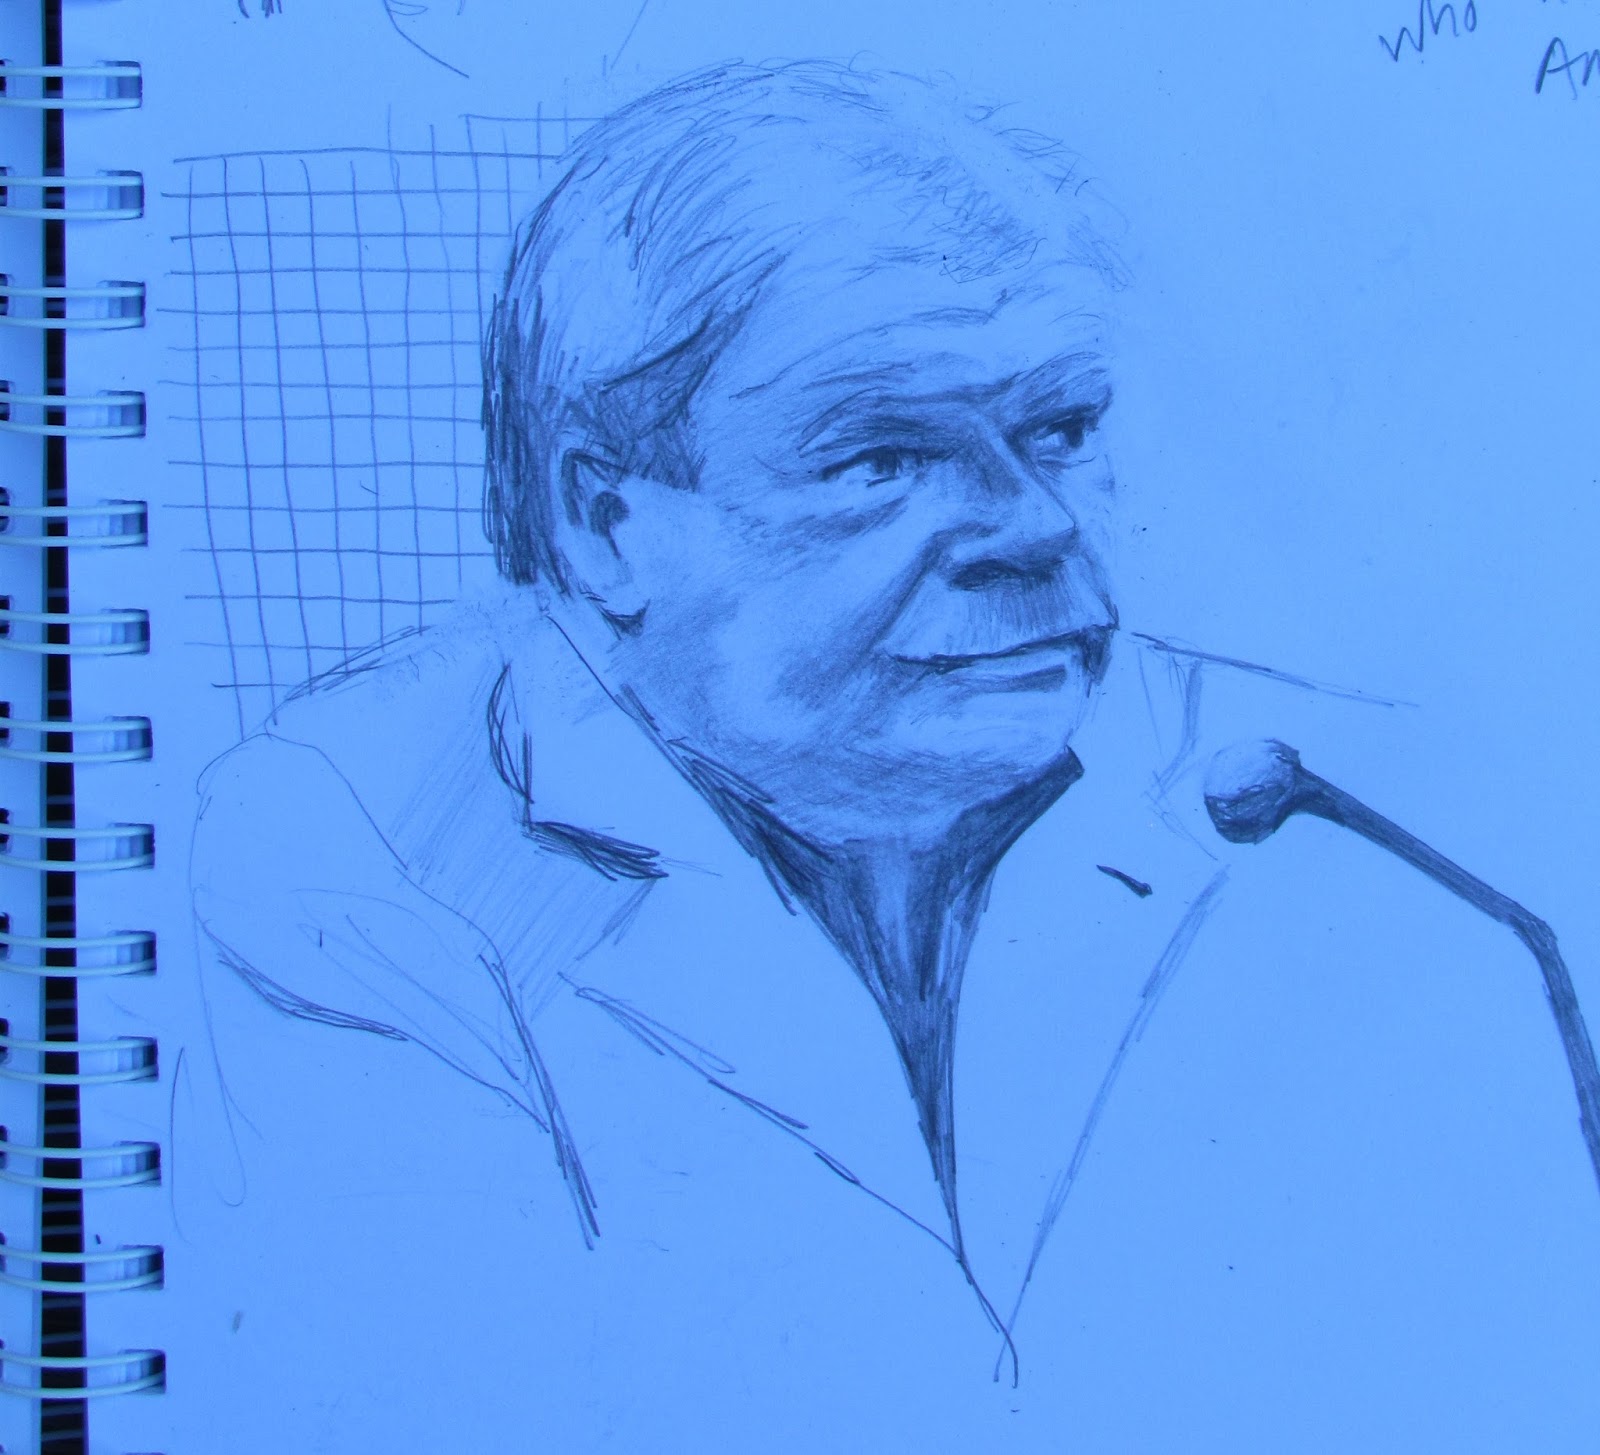
FBI Fitzgerald Ink 6
His seventy-three year old face was full of character lines.   His hair was somewhat red, his cheeks fleshy and rudy, and his moustache was gray.    I had my sketchbook, but had left my pencil on the passenger seat of the car.   So I sketched with a Bic pen until the first break, when I could retrieve my pencil.   I have included all of my scribblings in this post.

The progression of the sketches probably demonstrates the learning that went on as I became more familiar with the facial features.   The only drawback was that I was copying from a 2D monitor, not the person in full 3D.  All the practice is good however.


FBI Fitzgerald Ink 7

Robert Fitzgerald Pencil Sketch

Monday, May 13, 2013

Nude Apres Shower

Nude Apres Shower Stage One
This painting was the result of a two session sitting.   At the initial session when we decided on this pose, it looked like an "easy-to-hold" pose for the model.  After all it was sitting, but it turned out that this was a difficult pose.  The majority of pressure was on the right leg.    Our model is quite dedicated and was determined to hold the pose anyway and she successfully completed the challenge, not only for one three hour session, but a second three hour session a week later.   A big thank you to her.

I particularly liked this pose because it seemed more natural, as if the person was in the process of getting out of the shower, toweling off, or perhaps applying lotion.  The substrate for this painting was a smooth 16" x 20"  gessoboard, that had been toned with enough fleshtone color to give the smooth surface some tooth.   

I "drew" in the armature with transparent oxide brown.  Using all my measuring tools I modeled the figure.   I used excess paint which I could then wipe off with a papertowel to get an accurate figure drawing.  The fleshtone ground underneath provided a ready made skin hue.  I didn't rush this part and had to keep stepping back and re-measuring.  It was tempting to launch ahead with color, but I have found that, for me, that usually backfires.  I worked cool fleshtones with green oxide and alizarin crimson.  At the end of the first day, I had a decent drawing in paint, but that was too light and too green, as can be seen in Stage One photo.


Nude Apres Shower - Final
On the second day, I immediately washed over the green fleshtones with alizarin crimson.  I also  reapplied a dark background to redefine the figure.   The figure was backlit from my angle in the room.   The right inner shoulder was in shadow, and was the background for the facial profile, a nice contrast with the forehead, nose, lip and chin which all picked up some light.   The brightest edge of all was the rim light on the right shoulder hence it has the cleanest edge with the brightest light.   All other highlights were made less bright, and all other edges were made fuzzier.

The final touches that I made back in my studio were to add the stool she is sitting on as well as an understated bottle of lotion and a towel, completing the theme of "après shower."


Thursday, April 25, 2013

Portrait: Light Hair and Complexion


Olivia
Olivia Stage One

My academic realism portrait class has been challenging my painting vision, skills, technique and most of all, my patience.    The model at class was stunningly beautiful, which added more pressure.   I almost felt like apologizing in advance for the rendition that I felt would surely not measure up to her gorgeous reality.   That reality being her flawless hair, skin, and features.

I think what I found the most difficult was the fairness of our model's hair and complexion.  Contours couldn't be too dark and I worked at implying plane changes with temperature rather than drastic value changes.  The model's skin was so fair that her skin seemed translucsent.  I used Flake White Replacement, a transparent white by Gamblin to build up a glowing pinkish white for her skin in the bright light.    I amended my classwork using a photo after the actual live class session.   I corrected several edges especially in the jaw area and got to a better likeness.


Saturday, April 13, 2013

Decaf

Decaf
Figure painting has become my favorite genre.    I am not as advanced as I would like to be, but there is a lot of satisfaction in capturing a human likeness.  

On this day, our model made the suggestion that we use a comfy, overstuffed armchair.  Evidently she had a terrible night, having been in a hospital emergency room with her daughter, and was exhausted.     Her fatigue was evident as she relaxed into the chair, nursing her Dunkin' Donuts coffee. 

At first I painted her glancing off to the left.  I then decided that having her eyes closed better captured the mood.  I used really large brushes for everything except for the face and hands.  It was tempting to fine tune the chair but I resisted.  I tried to make the blue/orange harmony consistent throughout.

Friday, February 8, 2013

Figure Workshop Day Two

Thumbnails


On Day Two of my recent figure workshop, we were fortunate enough to have a live model.   The young lady, who was a high school student was very striking with strong classical facial features.  The instructor "dressed her up" by draping a warm red swatch of fabric over her lap as a skirt.  She also found a widebrimmed straw hat which she positioned forward enough to cast a sharp dark shadow over the model's eyes, accentuating her classic profile.


Black and White Study


We developed some thumbnail sketches, connecting the darks so that these accents would combine in a strong compositional design.  After the charcoal sketch we repeated the composition in black, gray and white.  Finally we painting the composition in color.


Live Model Color Study